Showing posts with label cricut. Show all posts

Friday, February 10, 2012

I "Mustache" You a question....


I got my inspiration for this valentine from Lil Luna.  She used wax mustaches, I couldn't find wax mustaches anywhere, and then I remembered I got a new cricut cartridge called Billionaire and it had mustaches on it. I cut the mustaches at 1.5.  If you don't have a cricut, you could find a pattern online and trace them and cut them out.   Here they are


Aren't these hysterical?! My son LOVES them!

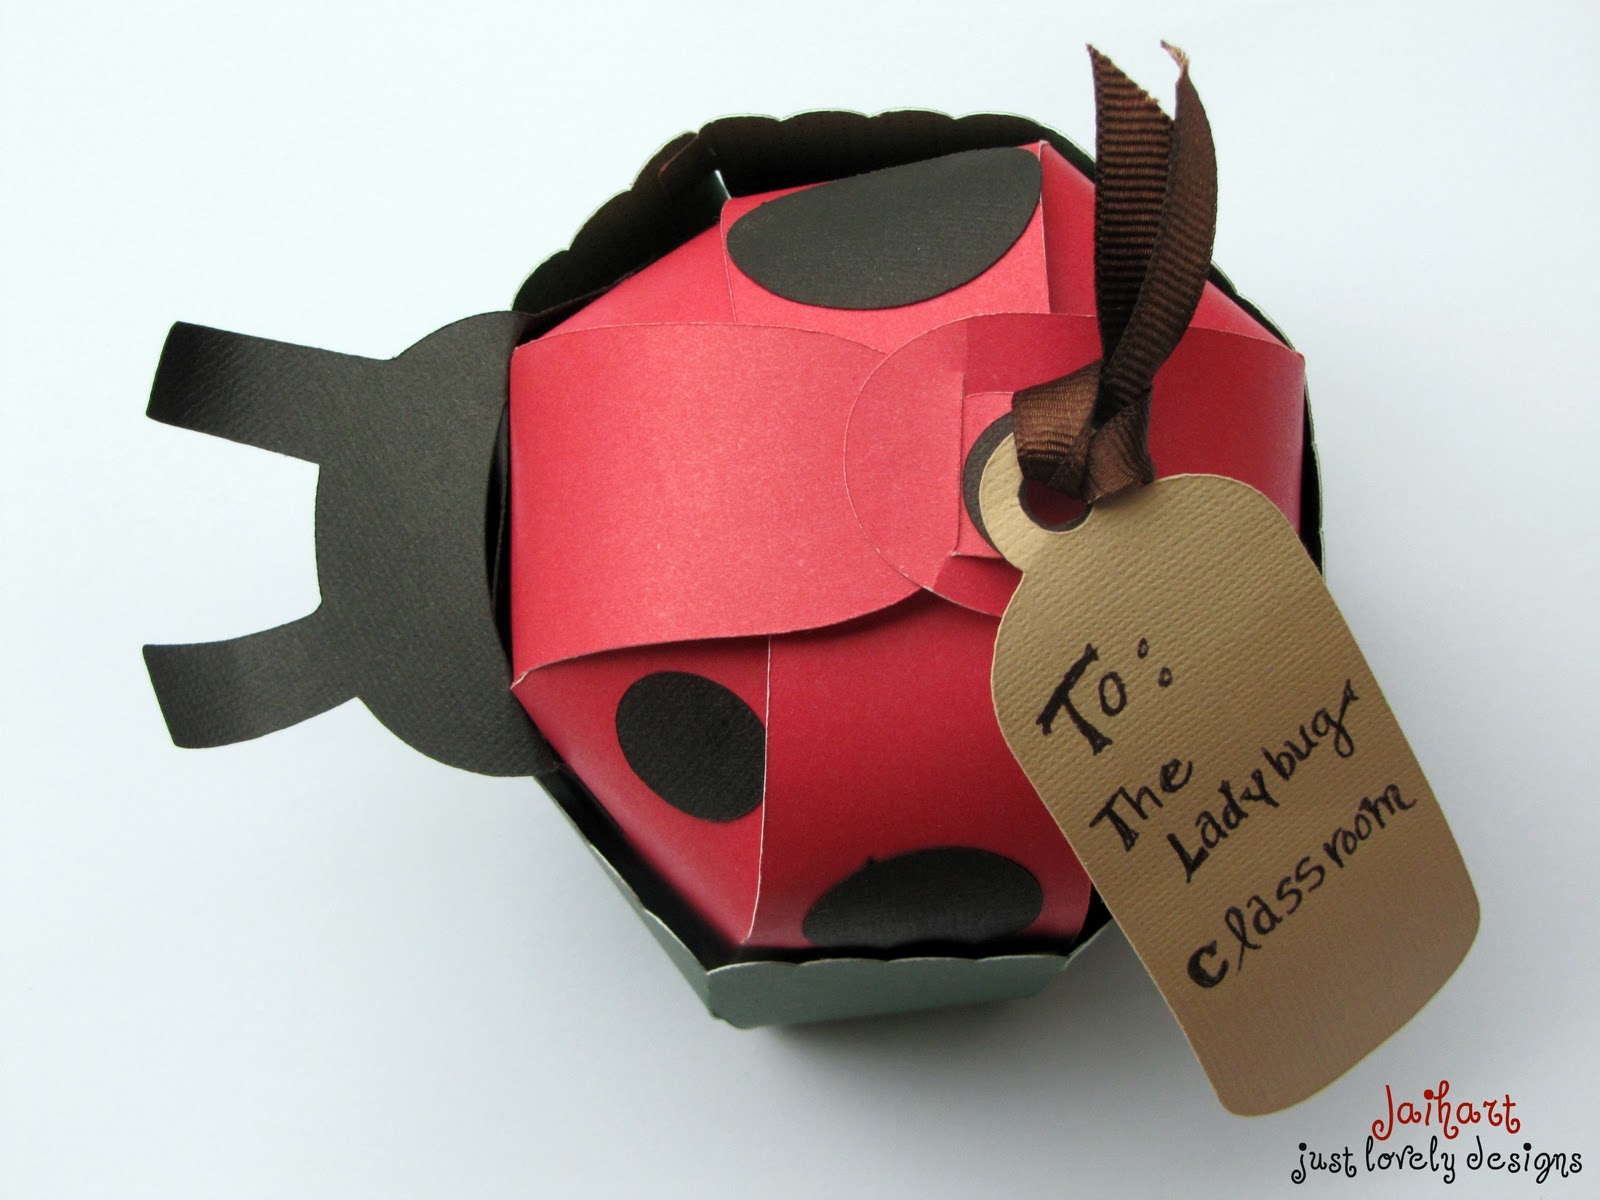
Here's the topper I made to go over the sandwich baggies I used to place the sucker mustaches in.


I used Picnik.com to place the mustache on my son in the picture.....so funny! I couldn't resist!  I figured I might as well get good use out of Picnik.com before they're gone.....sad face....crying sad face!  What am I going to do without Picnik.com?!  Anyways, I hope you got a laugh from these silly valentines! I had a blast making them!

Happy Crafting!


Smiles,

Jill

Like me here |  Party with me here  | Follow me here

Linking this up with
The Grant Life
30 Handmade Days
Paper Issues
Itsy Bitsy Paper Blog


Saturday, January 14, 2012

My Pink Stamper January Blog Hop Challenge

Love MY PINK STAMPER, Robyn!  What a fun gal!  She's so crafty and such a great teacher!  It's so fun to learn from her!  Anyways, I made a project for the Blog Hop.


Theme for Project: A fresh clean start! Make something for yourself or that you would give someone to welcome the fresh clean start of a New Year! It can be a card, scrapbook page, gift or home decor item. Pretty much anything goes!


Saturday, October 22, 2011

Cooking With Cricut Blog Hop

Welcome to Jaihart (J♥) and the CookingWithCricut.com “Adopt A Shelter Pet”  Blog Hop!


CookingWithCricut.com

October is National Adopt a Shelter Dog Month, but we wanted to honor and celebrate all of our furry friends!   If you've come from visiting Nita at Nita Notes, you're in the right place! p.s. She's from Canada and my husband was so excited when he found that out;) He has Canadian relatives! Also, she made the cutest teddy bear chef card for our #55 challenge (check it out)! If  you've just happened across my blog and would like to hop along with us, you can go to CookingWithCricut.com and start at the beginning.

 Here is my Rhodesian Ridgeback, Leo! He's 5 years old and is the best dog ever! He is wonderful with my children and very protective of us.  We love him very much!


Isn't this just hysterical!  We had these taken when my son was 14 months! I just had to share it!

Sunday, October 2, 2011

Popping up to say Hello!

    Yesterday was WORLD card making day!  I had no idea there was a "card making day" let alone a WORLD card making day. So since it's pretty much a big deal....I decided to make this little cutie:) My son is really into toast right now.  Every meal....toast, momma...no matter what we are eating...toast momma....2 year olds are so funny! Anyways, so when I saw this little piece of toast I thought it was just great!  I want a stamp that says, "Popping up to say Hi"  My Pink Stamper...do you have one with that saying? If not, you can totally steal that from me,  just send me a stamp so that I can stamp it on my card;)


Wednesday, September 14, 2011

First Day of School


I can't believe my son is in preschool!  Craziness!  Anyways, he's in the 2 year old program a couple of days a week.  His classroom is named "The Ladybug Room".  So I decided to make a gift for the teachers.  I almost forgot to mention, I'm in a group called MOPS.  I'm a table leader, and our table this year is called "The Ladybug" table...I didn't even pick the name!  I lucked out, huh!  So, I made these for the ladies at our table too:)


Ladybug magnets!  They are in the front and in the back is how I packaged it.

For the Magnets:   This project is super simple and you can do this with many different wooden shapes.  Just buy the prepainted wooden shapes and hot glue a magnet to the back of them.  

For the Box: Just assemble the box, put the magnets inside, wrap a ribbon around it and tape it at the bottom using scotch tape.  Then cut out the lady bug in black and the top in red.  Attach them to the ribbon using the dimensionals! 

Recipe:
Cricut: Walk in my Garden cartridge 2 in. ladybug
Black Cardstock
Red Cardstock
dimensionals
Ladybug Ribbon from Hobby Lobby
Painted wooden ladybugs from Hobby Lobby
Circle Magnets from Michaels
White box from Target- 
( I got the boxes many years ago 
and don't know if they 
still have them...sorry)

Have a great day!


Saturday, February 19, 2011

Birthday Card


I just got a Cuttlebug and have really been enjoying the embossing folders! Here's a birthday card I made. The cupcake is from the Celebrations cartridge and then I just used stickles glue (silver and clear).

Sunday, February 13, 2011

Valentine Treat Boxes


If you have Tie the Knot cricut cartridge...there are some really cute heart boxes! Perfect for Valentine's Day! I made these at 6". I used double sided paper, so when the cricut got done cutting them out, I took the little heart out of the middle of the handle, and flipped it over and glued it (using 2way glue pen) to the sides. Hope you have a great Valentine's Day!

Saturday, February 12, 2011

Baby Gift


I made this tie onesie for a baby gift. I just bought a onesie from Joann's, scrap fabric, and Heat n Bond. There are many tutorials out there on how to do this..if you need help, just e-mail me or ask in a comment!
I couldn't think of a cute way to package it, until I saw the cupcake wrapper on my new cricut cartridge "Life's a Party" and......

Easy Valentine's Day Cards


I just recently really got into the cricut and card making. I made these cards with the wild card cartridge, some stickles, and the rolly turny thing that makes your paper wavey (sorry I know it's not a techinical term;) The photos didn't turn out as well as I'd hoped but I think you can get the general idea:)

LinkWithin

Related Posts Plugin for WordPress, Blogger...