Sunday, April 15, 2012

Sundays are Lovely Feature... Fun Colors


Look at this super cute card by Nita!
First of all, who doesn't love Pooh?!
Second of all, look at the colors she chose!
Everything is such a perfect cohesive masterpiece!
Super de duper cute, Nita!

You can link up a project to Sundays are Lovely too!

Hope your Sunday is Lovely too!

Smiles, 

Jill

Like me here |  Party with me here  | Follow me here


Monday, April 9, 2012

Washi Tape Plant Markers

My kids and I have had a BLAST outside with all the nice weather, you can check out our spring fun where we read books and painted birdhouses here. You may remember I said that we planted some seeds. Well, my son hasn't been into veggies lately so we planted some veggie seeds to help him get excited about them again. I wanted to have some plant markers so I knew what we planted where. Since I've been so into Washi Tape lately I decided to use washi tape and toothpicks to make my plant markers! (P.s. I'm having a washi tape giveaway, you can enter here).


I just took the tape and folded it over the toothpick and added a sticky label over the washi tape! That's all folks! (oh one thing I'm going to do to help make the words not run when water hits them is add packing tape over them to make them water resistant).

Just in case anyone is interested....
my son and I read this book before planting our seeds...
just to make sure we knew what to do!
 (wink, wink)

Front Cover


Have a sunshiney day!

Smiles,

Jill

Like me here |  Party with me here  | Follow me here

Linking up 

Sunday, April 8, 2012

Sundays are Lovely Feature...Happy Easter


Happy Easter Everyone!
I wanted to share the Easter Projects that were linked up to Sundays are Lovely! If you haven't linked up a project yet, you can do so here. I'm giving away 4 rolls of Washi tape + a cool dispenser. If you don't have a project to link up make sure to join the giveaway! These ladies are so talented check out their super cute Easter projects...


Paint Chip Easter Eggs in Bowl WM


I just had to showcase this super cute part of the bucket 
because I just can't get enough of it!


What cute Easter Projects! 
We are half way to our goal for linking up to Sundays are Lovely!
I can't believe it!
Well, actually I can because you ladies are awesome!

I hope that everyone is having an "Egg-stra" special Easter!

Smiles,

Jill

Like me here |  Party with me here  | Follow me here

Thursday, April 5, 2012

Yummy Black Bean Lasagna


Good news! You can now reach me at Jaihart.com! So much shorter I love it! My old address jaihartjustlovelydesigns.blogspot.com will be forwarded in case you were wondering! P.s. I LOVE MY READERS! You guys are seriously the BEST! You make me smile on a day to day basis and I can't thank you enough for all of your sweet comments, emails, etc...I love creating and inspiring and YOU, my readers, my friends, make it that much more fun for me! So thank YOU! Gosh, I can't believe I'm a DOT COM....SO... to celebrate, I made a Black Bean Lasagna! You can too! You can find the recipe here.


It's seriously delicious! If you like black beans at all, you will LOVE this dish! YUM YUM! I hope that you have a super fun day and if you make the lasagna let me know:)!

Smiles,

Jill
Like me here |  Party with me here  | Follow me here

Linking up
It's Overflowing
I heart naptime
30 handmade days

Wednesday, April 4, 2012

Guest Designer at Decorate to Celebrate

***If you're looking for the CWC post...keep scrolling down... Thanks!:)**

We are having a gorgeous day today! How about you? Did you know, I'm having a GIVEAWAY? Yay! If you haven't joined in you can here.

Well, I am honored because..........I am lucky enough to be a Guest Designer for Decorate to Celebrate for their baby shower theme!  You can check out their blog  here. You may remember me talking about a baby shower that we were having for some friends. If not, you can check out the invitations here, and the front door wreath here, and the video tutorial for the door wreath here.

Well, we had the baby shower two weekends ago! I can't believe how fast time flies!  Anyways, here are some of the decorations...

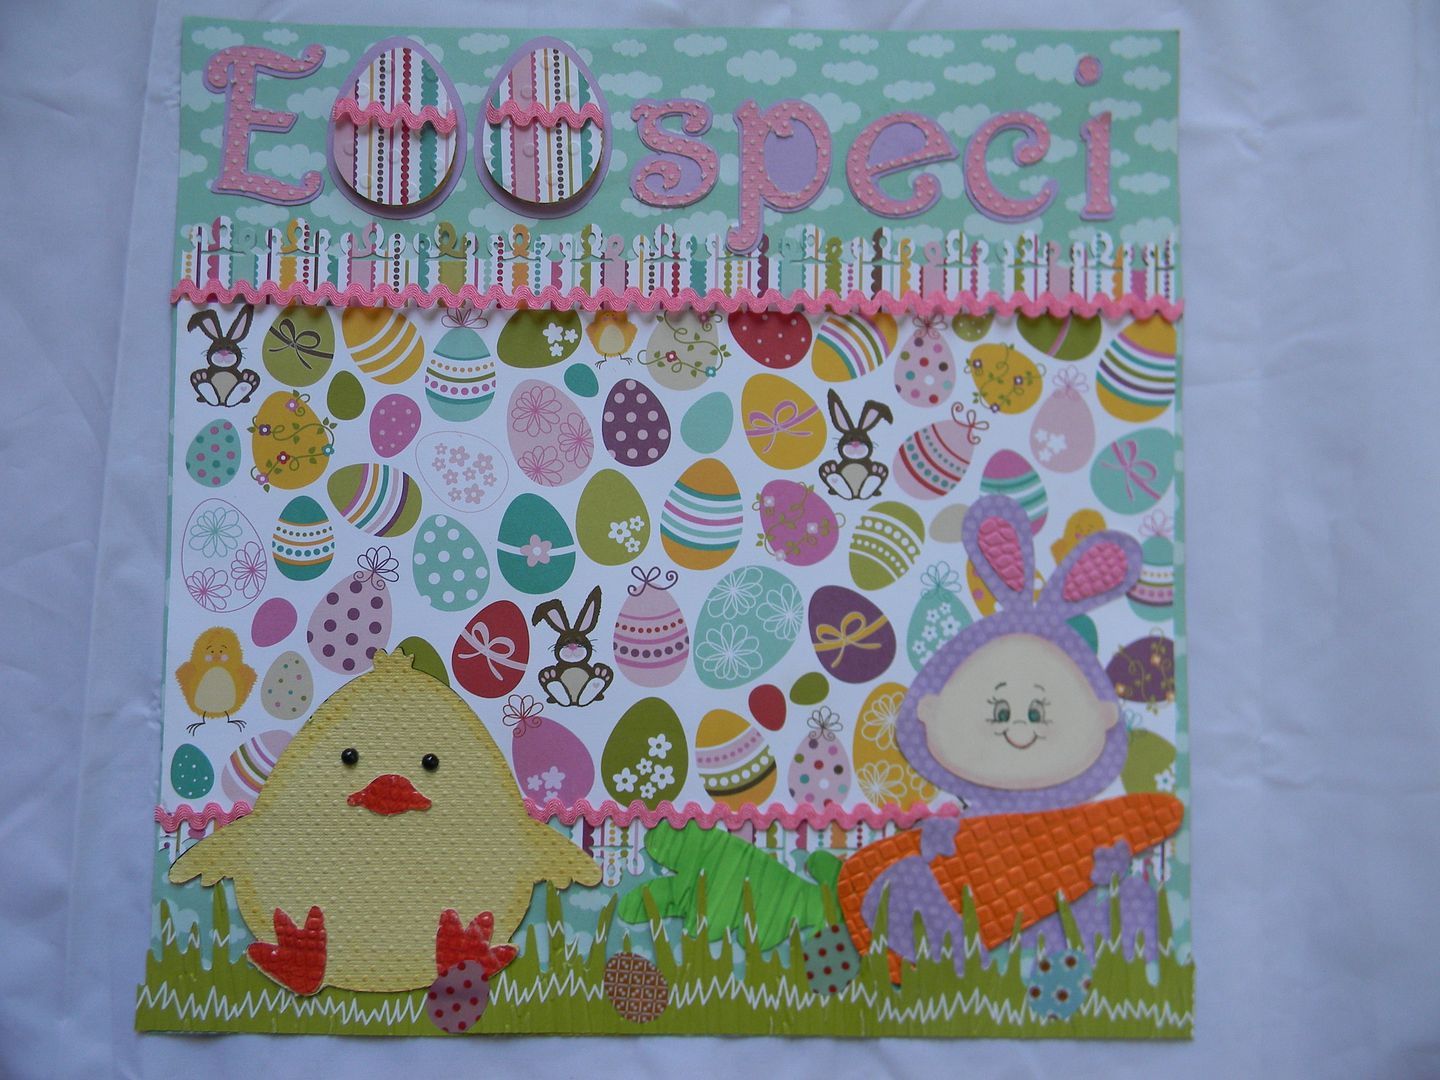
Here is one of the banners I made:

I used the New Arrival Cricut cartridge (if you don't have a cutting machine I made a printable for you at the bottom of this post, so you could replicate this banner) to make the onesies and the "It's a Girl" circles. The flower in the center of the onesies were left over from my Spring Topiary. If you didn't get a chance to check it out, you can find it here. I cut the onesies and circles out at 4in.


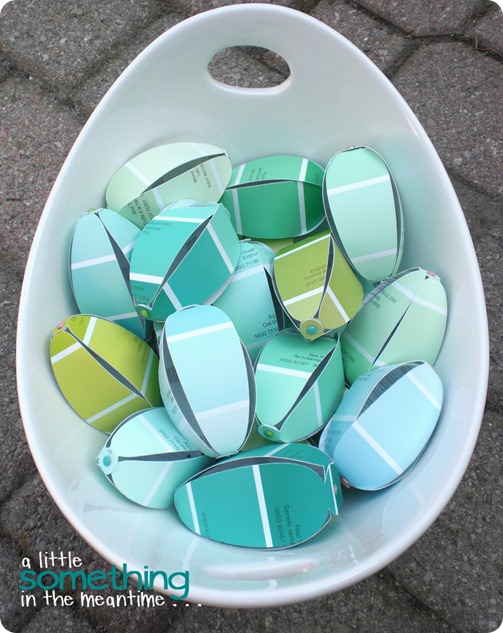
The dessert table had lanterns and this circular decoration hanging down from the ceiling. The circular string decoration was so easy to make. All I did was take a glass trace around it to make my circular pattern and cut out circles from felt sheets. The felt was the stiff felt sheet kind. The sheets were purchased at Hobby Lobby. After cutting out the circles I hot glued them back to back on a string. I don't know the technical term for the string but it was shiny and smooth string...ha! You can use whatever type of string, twine, etc...


This is a picture of the dessert table before we had all the food out. I wanted to make sure I got some pictures before it got too crazy and I forgot to take pictures. I actually was able to get some, not as many as I would have liked, after the food was out...I will post soon!

Here are the printables as promised so that you can make the banner yourself if you don't have a cutting machine.


                                Download the It's a Girl here                Download the It's a Boy here                  


                                                          Download the onesies here 
(If you use colored paper when printing the onesies they will be printed whatever color of paper you put in the printer...I'm sure you already knew that, but just in case)


If you've never downloaded a printable follow these directions.....ENJOY!
You will be brought to Photobucket. You will not see the word "File" but if you take your mouse to the upper left hand corner of the printable, you will see it. Go to File then a drop down menu will pop up and go to download! There you have it! Now you can download and print away! Also, when in doubt, just right click right on the image and click "Save As". Then you can save the printable to your computer.  My printer allows me to print at different sizes like 8X10 and 5X7 along with the quantity to be printed off! Let me know if you have any questions because I was a lost puppy when it came to printables at first!

Thanks again  DECORATE TO CELEBRATE  for having me as a Guest Designer! 

Have a Super fun day!

Smiles, 

Jill
Like me here |  Party with me here  | Follow me here


View the latest link party and giveaway here


Linking up to
It's Overflowing


CWC Challenge #80

The Cooking with Cricut Challenge this week is an Easter Theme such as- cards, baskets, eggs, lilies, bunnies, etc..


I decided that I wanted to make tags for my children's Easter Baskets. 


I used Create a Critter and the bunny option. I cut them out at 3 in.
I embossed my son's bunny using the Tiny bubbles Cuttlebug Embossing folder.


My daughter's bunny I did not use the embossing folder, but I added a flower. 
It's a layer option, and I cut it out at 0.5.  I added stickles to the center of the flower.
The bunnies' tummies are cut at 0.5 as well.
I also used stickles on the bunny's nose.


Aren't these little bunnies so fun?! I just love them!
Thanks to all of you who have used this cartridge before, 
you inspired me to use it! 


Have a "Bunny-rific" day!

Smiles,

Jill

Like me here |  Party with me here  | Follow me here

Linking up with
Getting Cricky
Paper Sundaes
My Craft Spot
Creative Card Crew
More than Favors
Top Tip Tuesday


Sunday, April 1, 2012

Sundays are Lovely #8 + Giveaway!!!!

March is over! What? I know, I can't believe it either! How was your March? Did you link up a project to my link party? I really have enjoyed the new format! If you're new, let me fill you in, my link party Sundays are Lovely will be open for one whole month. During that time, you can link up as many projects as you would like. On Sundays, I will feature a project that has been linked up. Last time I set a goal for a number of projects for us to reach. I told you that I would do a giveaway if we reached that number....Well......we did! YAY! Super awesome everyone! So here is the giveaway.....


Friday, March 30, 2012

I Feel the Love


Have you ever heard of the "I Feel the Love Project"? A fellow CWC designer, Madison, has an amazing project every month where she finds a family or person in need of some cheer.  This month, a sweet little girl, Trinitie, found out that she has a brain tumor.  I can't even imagine....oh man, so tough...This little girl melted my heart....


So here's the card I made for her....I really hope she likes it!


Here's the inside.... I used Getting Cricky Stamps.


I really hope this card helps to cheer her up!


Smiles, 


Jill
Like me here |  Party with me here  | Follow me here


Linking up
I heart naptime
it's overflowing
30 handmade days
Getting Cricky

Thursday, March 29, 2012

Sundays are Lovely Feature....FUN & Interactive Egg Decorating Idea


Did you see the Chalkboard Easter Eggs, Aimee at It's Overflowing
linked up to my link party Sundays are Lovely?

How cute are these? What a brilliant idea, Aimee!
Super Cute! You can check out more details about Aimee's
Eggs, here.

Do you have an idea you'd like to link up? 
You can join us for my link party

Have an "EGG-CELLENT" day!

Smiles,

Jill

Like me here |  Party with me here  | Follow me here

Wednesday, March 28, 2012

Spring Day with the Kiddos!

Have you been sick recently? Oh man, if you haven't, lucky you! If so, I feel your pain!  I got this awful flu bug and it seemed to sweep across our whole family and then come back again! Argh! I do believe though, that I'm on the up and up! Finally!

Since I was finally feeling better, the kiddos and I had a Spring Day!

First we read books about Spring....one in particular that is my favorite....

Bear Wants More, Board Book   -     
        By: Karma Wilson, Jane Chapman

We also read a book that I printed off and then we colored (you can print in color or black and white). 
They have many other books and activities for kids...


Then we talked about Spring and what we have started to see outside.... bird nests, flowers, green grass, etc...

After we talked about Spring, we went outside and did some fun Spring activities.
We planted seeds in pots.....but the most fun was...........

DECORATING BIRDHOUSES!!!!!!!!!!


My son LOVES birds. He chases them in our yard and tries to catch them.  You may remember the birdhouses I decorated. If not, you can check them out here. Anyways, when I decorated those birdhouses I knew that my son would LOVE it, so I saved some for him to decorate.

He loved it...to say the least! Look at that grin!


Look at the concentration! Next Picasso..what do you think? ha!


Super easy and fun...

Supplies:
-wooden birdhouses (I got mine from Michael's for .50 cents)
-acrylic paint
- foam brush

Just paint...go for it!  Enjoy!


Hope your day is filled with sunshine!

Smiles,

Jill 

Like me here |  Party with me here  | Follow me here

Linking up


Sunday, March 25, 2012

It's Overflowing Egg Hunt


Hello, everyone! I participated in an Egg Hunt over at It's Overflowing. Just in case you didn't get to participate, here is my egg design I came up with......


Get ready for the easiest way to decorate an egg in the history of time...ha! No, but seriously, it is really easy!

Your supplies: acrylic paint, an egg (I used a real one, if you don't like using real eggs then you could always use a wooden one) glue gun, foam brush


1. Make sure the glue gun is nice and heated before you start.
2. Use the glue gun to "write" a shape, word, or whatever you would like on the egg
3. Wait until the glue dries...it should only take about a minute. Then paint over glue and inside the shape if you wish.
4. Allow paint to dry
5. Enjoy!


I hope you enjoyed my tutorial!
Have an "EGG-STRA" special day!

Smiles,

Jill


Like me here |  Party with me here  | Follow me here
Jaihart- A crafty space with tutorials, printables, and fun!


Linking up
I heart naptime
30 handmade days


Friday, March 23, 2012

A little Friday Fun!

I have a little Friday Fun for you.....


hahaha! I was laughing today because as I was commenting on blogs everyone is so polite and says, "Thank you for your sweet comments they make my day"....(I say that too! It's so true right?) So, I thought of this printable!  Enjoy!

Smiles,

Jill

Like me here |  Party with me here  | Follow me here

If you've never downloaded a printable follow these directions.....ENJOY!
You will be brought to Photobucket. You will not see the word "File" but if you take your mouse to the upper left hand corner of the printable, you will see it. Go to File then a drop down menu will pop up and go to download! There you have it! Now you can download and print away! Also, when in doubt, just right click right on the image and click "Save As". Then you can save the printable to your computer.  My printer allows me to print at different sizes like 8X10 and 5X7 along with the quantity to be printed off! Let me know if you have any questions because I was a lost puppy when it came to printables at first!


LinkWithin

Related Posts Plugin for WordPress, Blogger...